Support our educational content for free when you purchase through links on our site. Learn more
Ever walked past a forgotten patch of urban wasteland and wondered, “Could this be a garden?” Spoiler alert: it absolutely can! Turning a vacant lot into a flourishing community garden isn’t just about planting seeds — it’s about cultivating community, health, and hope. In this comprehensive guide, we’ll walk you through every step of the transformation, from scouting the perfect sunny spot and navigating legal hurdles, to soil testing, fundraising, and growing your first crops. Plus, we’ll share inspiring success stories and expert tips that will keep your garden green and your neighbors connected.
Did you know that there are over a million community gardens across the U.S., each one a vibrant hub of fresh food and friendship? But before you grab a shovel, there’s a lot to consider — like how to handle contaminated soil or secure funding. Stick with us, and by the end, you’ll be ready to turn that vacant lot into a lush oasis that feeds both body and soul.
Key Takeaways
- Identify and secure the right lot: Ensure ample sunlight, accessibility, and legal permission before planting.
- Test and remediate soil: Soil testing for contaminants is essential; raised beds with clean soil can solve most issues.
- Build a strong community team: Engage neighbors, form a steering committee, and establish clear governance.
- Plan thoughtfully: Design accessible layouts, secure water sources, and budget realistically.
- Sustain and grow: Maintain the garden with regular volunteer engagement, sustainable practices, and clear rules.
- Draw inspiration: Real-world success stories show how community gardens transform neighborhoods beyond just food production.
Ready to dig in? Let’s grow together!
Table of Contents
- ⚡️ Quick Tips and Facts
- The Green Awakening: Why Transform Vacant Lots into Vibrant Community Gardens?
- What Exactly is a Community Garden, Anyway? 🌱
- The Grand Transformation: Your Step-by-Step Guide to Cultivating a Community Garden from a Vacant Lot
- Common Pitfalls & How to Avoid Them 🚧
- Tools of the Trade: Essential Equipment for Your Community Garden Shed 🧰
- Nourishing the Soil & Soul: Sustainable Practices for Urban Agriculture ♻️
- Success Stories & Inspiration: Real-World Community Garden Triumphs ✨
- Conclusion: Your Green Legacy Awaits! 💚
- Recommended Links: Further Reading & Resources 🔗
- FAQ: Your Burning Community Garden Questions Answered 🔥
- Reference Links: Citing Our Sources 📚
⚡️ Quick Tips and Facts
Welcome, green thumbs and aspiring community builders! Before we get our hands dirty, let’s plant some seeds of knowledge. Here at Community Gardening™, we’ve seen it all, and we’re here to give you the inside scoop.
- It’s a Movement! There are an estimated 1 million community gardens in the United States alone, transforming concrete jungles into green oases.
- Sun is Non-Negotiable: Your future garden’s success hinges on sunlight. You’ll need a spot that gets at least 6-8 hours of direct sun per day for most veggies and fruits to thrive.
- Know Before You Grow: Don’t just start digging! The history of a vacant lot can be murky. Past uses could have left behind contaminants like lead or arsenic. Soil testing is not a suggestion; it’s a necessity.
- Budget Basics: Starting a simple community garden can cost anywhere from $2,500 to $5,000, covering essentials like tools, soil, and building materials.
- Legal Lease: A handshake won’t cut it. The American Community Gardening Association (ACGA) recommends securing a lease of at least three years to protect your group’s hard work.
- Accessibility is Key: A true community garden is for everyone. Plan for paths at least 3 feet wide to accommodate wheelchairs and strollers.
The Green Awakening: Why Transform Vacant Lots into Vibrant Community Gardens?
Have you ever walked past a forgotten, weed-choked lot and thought, “What a waste of space”? We sure have! That patch of urban blight is a canvas waiting for a masterpiece. Transforming that space is one of the best Ideas for a Vacant Lot Next Door 2024 🪴. But this is about more than just pulling weeds and planting pretty flowers. It’s about sowing the seeds of connection, health, and resilience right in your neighborhood.
The Benefits of Community Gardens are staggering. We’re talking about:
- Fresher Food & Fuller Pockets: Access to fresh, healthy produce can be a game-changer for community health and can significantly reduce grocery bills.
- Safer Streets: Green spaces are cared-for spaces. A vibrant garden can deter crime and make neighborhoods feel safer.
- Environmental Superheroes: Gardens improve air and soil quality, reduce stormwater runoff (saving cities money!), and boost local biodiversity. 🐝
- Community Connection: A garden is a natural gathering spot. It’s where neighbors, who might have only ever exchanged a passing nod, become friends, sharing tips, tools, and laughter. It’s a place to grow not just food, but the people in the community.
It’s a powerful act of reclamation, turning a symbol of neglect into a beacon of hope and nourishment.
What Exactly is a Community Garden, Anyway? 🌱
Let’s clear the soil on this one. A community garden is simply any piece of land gardened by a group of people. It’s a collective effort. But like heirloom tomatoes, they come in all shapes and sizes!
- Allotment Gardens: These are the classic model, where the land is divided into individual plots. You get your own little patch of earth to cultivate as you wish (within the garden’s rules, of course!).
- Communal Gardens: Everyone works together on one large, shared garden. The tasks and the harvest are split among the group. This model is fantastic for building teamwork.
- Donation Gardens: The primary purpose of these gardens is to grow food specifically for donation to local food banks, shelters, and community kitchens.
- Educational Gardens: Often found at schools or community centers, these gardens are living classrooms, teaching kids and adults about ecology, nutrition, and where their food comes from.
No matter the model, the core idea is the same: people coming together to cultivate land and, in the process, cultivate community.
The Grand Transformation: Your Step-by-Step Guide to Cultivating a Community Garden from a Vacant Lot
Alright, team, this is where the rubber meets the road… or rather, where the shovel meets the soil! We’ve broken down this grand adventure into four manageable phases. As the folks at ioby say, “starting and maintaining a winning community garden does not happen overnight!” So take a deep breath, and let’s begin.
Phase 1: Vision & Vetting – Laying the Groundwork
Before you buy a single seed packet, you need a solid foundation. This phase is all about research, planning, and people.
1. Spotting the Potential: Identifying the Perfect Plot 🕵️ ♀️
Not all vacant lots are created equal. When you’re scouting locations, put on your detective hat and look for these key features:
- ✅ Sunlight: We can’t say it enough. At least 6-8 hours of direct sun is crucial. Use a sun-tracking app or just observe the spot throughout the day.
- ✅ Topography: A relatively flat lot is your best friend. Steep slopes can lead to erosion and are much harder to work with.
- ✅ Accessibility: Is the lot easy for your potential gardeners to get to? Proximity to homes and public transport is a huge plus.
- ❌ Major Debris: Take note of any large obstacles like giant concrete slabs, abandoned cars, or construction waste. These can be costly and difficult to remove.
2. Digging into the Details: Land Ownership & Legalities 📜
This step is critical. You absolutely cannot start a garden on land you don’t have permission to use.
- Who Owns It? Your first mission is to identify the property owner. This information is usually public record. You can often find it through your local county’s property appraiser or tax assessor’s office website.
- Make the Ask: Once you know who the owner is, it’s time to reach out. As garden advocate Avital Aboody advises, “Once you have a handle on [who owns the land], reach out to the owner, explain your idea, and ask for permission to use their land for this community benefit.” Be prepared with a clear, passionate pitch about how the garden will benefit the community and, by extension, improve their property’s value and security.
3. Building Your Dream Team: Forming a Core Group & Community Engagement 🤝
A garden needs more than one gardener. It needs a team!
- Rally the Troops: Talk to your neighbors! Gauge interest by knocking on doors, posting on local social media groups, and putting up flyers. Partner with local organizations like schools, churches, or block associations.
- Form a Steering Committee: You need a core group of dedicated people to lead the charge. This team will handle the initial planning, outreach, and administrative tasks.
- Define Roles: Create a list of all the jobs that need doing—funding, publicity, construction, volunteer coordination—and assign clear responsibilities.
4. Getting the Green Light: Navigating Zoning & Permits 🚦
Oh, bureaucracy! It’s not the most glamorous part of gardening, but it’s essential.
- Check Zoning Laws: Look up the lot’s address on your city or town’s zoning map. You need to confirm that community gardens are an allowed use for that parcel of land.
- Talk to Your Local Government: Some cities have specific agencies or programs to help community gardens, like GreenThumb in NYC. These offices can be invaluable resources. Touch base with your local planning or parks department to see what permits you might need for things like fences, sheds, or water access.
5. Assessing the Canvas: Site Evaluation & Soil Testing 🧪
This is the moment of truth for your chosen lot. What lies beneath the weeds?
- Historical Investigation: Before you test the soil, investigate the site’s history. Was it ever a gas station, a factory, or a house with old, lead-based paint? Resources like local libraries, historical maps (like Sanborn maps), and the EPA’s Envirofacts database can provide clues about potential contamination.
- Soil Testing is a MUST: We cannot stress this enough. Urban soils can harbor nasty contaminants like lead, arsenic, and other heavy metals.
- What to test for: Standard soil tests from a university extension service check for nutrients like Nitrogen (N), Phosphorus (P), and Potassium (K), as well as pH. You must specifically request tests for heavy metals.
- How to test: Contact your local university’s cooperative extension service for a soil test kit and instructions. You can find a directory on the USDA’s NIFA website.
- Interpreting Results: If your results show concerning levels of contaminants, don’t panic! It doesn’t mean the project is over. It just means you need a new plan. This is where options like building raised beds and bringing in clean, certified soil become your best solution.
| Potential Contaminant | Common Sources | Gardening Solution |
|---|---|---|
| Lead (Pb) | Old house paint, historical vehicle emissions from leaded gasoline. | Build raised beds with a geotextile fabric barrier and import clean soil. |
| Arsenic (As) | Can be naturally occurring; also found in some pesticides and treated wood. | Raised beds are the safest option. Avoid using old railroad ties or pressure-treated wood pre-2003. |
| Petroleum Hydrocarbons | Leaks from old underground storage tanks (gas stations), industrial sites. | Raised beds are essential. Professional remediation may be required in severe cases. |
Top-Rated Soil Test Kits:
While we always recommend a professional lab analysis for contaminants, these kits are great for monitoring nutrients and pH throughout the season.
- MySoil Soil Test Kit: A comprehensive mail-in kit that tests for 13 different soil nutrients and provides detailed recommendations.
- Luster Leaf 1601 Rapitest Soil Test Kit: A popular and affordable DIY kit for quick checks of pH, N, P, and K.
👉 Shop Soil Testing Kits on:
- MySoil: Amazon | MySoil Official Website
- Luster Leaf: Amazon | Walmart
Phase 2: Planning & Funding – Cultivating Resources
You’ve got a vision, a team, and a clean bill of health for your soil. Now it’s time to draw up the blueprints and find the funds to make it happen.
6. Crafting Your Blueprint: Garden Design & Layout 📐
This is the fun part! Time to dream up your garden’s layout. Check out our Garden Design Ideas for inspiration.
- Map it Out: Sketch a map of your lot. Where are the sunniest spots? That’s where your main vegetable plots should go. Where is the shadiest area? Perfect for a picnic table or a compost corner.
- Plot Size & Paths:
- Raised Beds: A width of 4 feet is ideal, so gardeners can reach the middle from either side without stepping on the soil.
- In-Ground Plots: Can range from 10×10 feet to 20×20 feet.
- Pathways: Make them at least 3 feet wide for basic accessibility, 5 feet for a wheelchair turning radius, and 7 feet for two wheelchairs to pass.
- Essential Features: Don’t forget to plan for a tool shed, a compost area (DIY bins from wood pallets work great!), a bulletin board for communication, and a water source.
7. Show Me the Money! Securing Funding & Grants 💰
As we mentioned, a budget of $2,500 – $5,000 is a realistic starting point. So, where does that money come from?
- Membership Dues: A small annual fee from each gardener can cover ongoing costs like water and tool maintenance.
- Local Sponsorships: Approach local businesses! A hardware store might donate tools, or a local restaurant might sponsor a plot in exchange for some fresh herbs.
- Grants: There are many grants available for community greening projects. Check with your local municipality, as well as national organizations like the American Community Gardening Association. For sites with potential contamination, non-profits may be eligible for EPA Brownfields cleanup grants if they meet certain criteria.
- Crowdfunding: Platforms like ioby (which stands for “in our backyards”) are specifically designed for local, community-led projects and are a fantastic way to build buy-in.
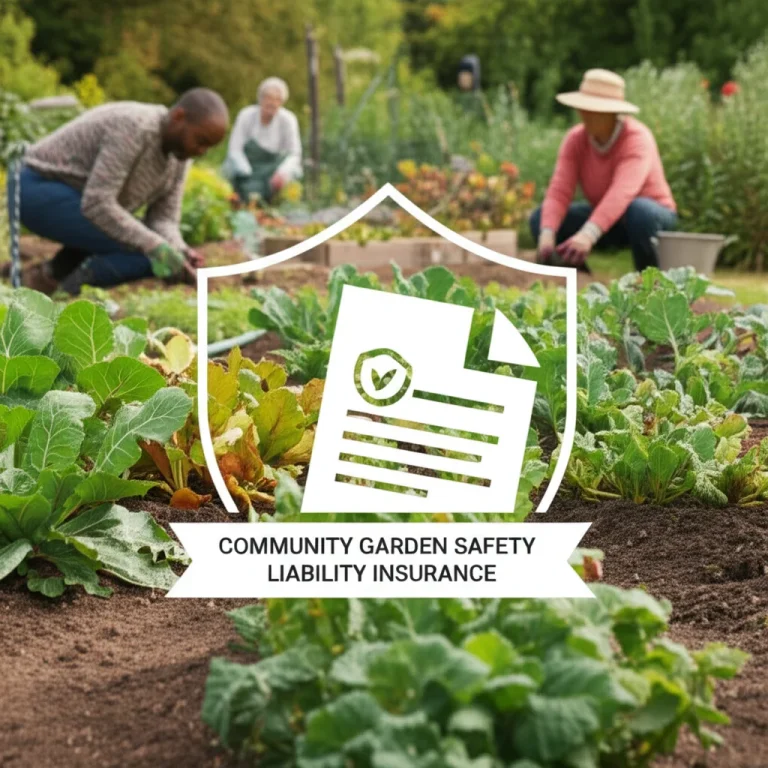
8. Legal Eagle: Insurance & Liability Essentials 🛡️
This is another one of those crucial, non-negotiable steps to protect everyone involved.
- The Lease: Get your permission in writing! A simple lease or land-use agreement with the property owner is a must. Aim for a term of at least three years. The agreement should clearly state what you’re allowed to do on the property.
- Liability Insurance: What if someone trips over a hose and gets hurt? Liability insurance protects the garden members and the landowner from accidents. Many national organizations offer insurance programs specifically for community gardens. This is a key part of your Community Garden Policies.
- Waivers: The lease should include a waiver that protects both the gardeners and the property owner from liability.
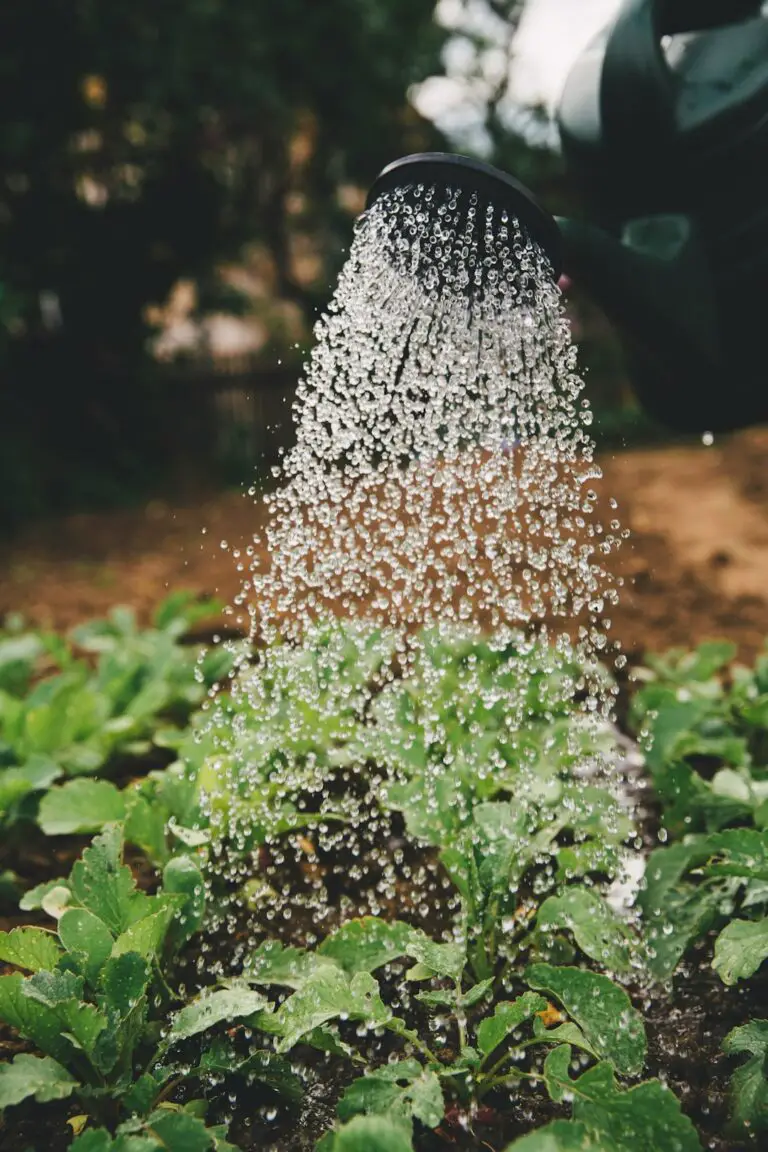
9. Water, Water Everywhere: Establishing an Irrigation Plan 💧
Your plants will get thirsty! A reliable water source is non-negotiable.
- Locate the Source: Is there an existing water line or fire hydrant you can get permission to use? Contact your local water utility to find out.
- Installation Costs: Be aware that if there’s no past water service to the lot, installing a new line can be expensive. Factor this into your budget early on!
- Rainwater Harvesting: Plan to install large rain barrels or cisterns to capture runoff from any sheds or nearby roofs. It’s a free, sustainable water source that your plants will love.
Phase 3: Preparation & Planting – Getting Your Hands Dirty
The paperwork is done, the plan is set. Now, the real fun begins!
10. Clearing the Way: Site Preparation & Debris Removal 🚜
It’s time for a good old-fashioned cleanup day!
- Host a Cleanup Event: Make it a party! Invite the whole community to help clear weeds, trash, and small debris. Provide gloves, tools, and plenty of snacks. This is a great first Community Garden Event.
- Heavy Lifting: For large items like concrete, you may need to rent a dumpster or hire a service.
- Mark Your Territory: Use stakes and string to lay out the garden design you created, marking where plots, paths, and other features will go.
11. Soil Salvation: Remediation & Enrichment Strategies 🪴
Healthy soil is the foundation of a healthy garden.
- If Your Soil is Contaminated: As discussed, the safest route is to build raised beds. Lay down a layer of thick cardboard or a water-permeable geotextile fabric at the bottom to create a barrier before filling them.
- Importing Soil: You’ll need to bring in a new soil/compost mix. Be careful with the term “clean fill.” In construction, this just means it’s free of large debris, not that it’s free of contaminants. Source your soil from a reputable landscape supplier and ask for their soil test results to ensure it’s safe for growing food.
- Enriching the Good Stuff: Even if your soil is safe, it will likely need a boost. Amend it with several inches of high-quality compost or aged manure to improve its structure and fertility.
12. Building the Bones: Infrastructure & Accessibility 🛠️
Now you build the garden’s skeleton.
- Fencing: A fence is highly recommended to protect your garden from vandalism and critters. An 8-foot-tall fence is often suggested for security.
- Raised Beds & Paths: Construct your raised beds. There are many kits available, or you can build them from untreated lumber. Lay down wood chips or gravel for your accessible pathways.
- Tool Shed & Compost Bins: Assemble your tool shed and set up your composting area. A simple three-bin system made from pallets is a great, low-cost option.
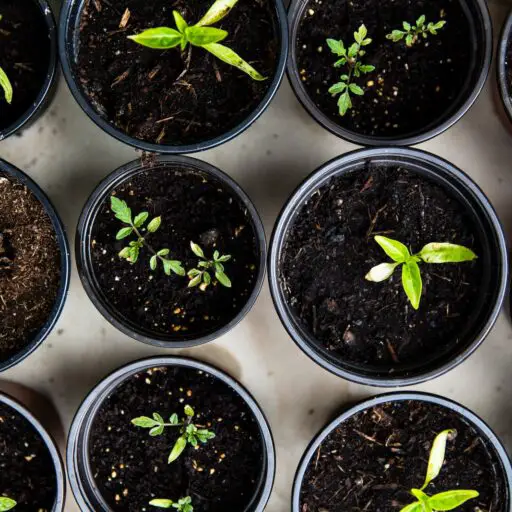
13. Planting the Seeds: Crop Selection & Garden Beds 🥕
The moment you’ve been waiting for!
- Choose Your Crops: Select plants that are well-suited to your climate and sun exposure. Our Edible Plants guide can help you choose. Consider a mix of easy-to-grow favorites like tomatoes, lettuce, beans, and squash.
- Planting Day: Host a big planting day event to get everything in the ground. This is a fantastic way to build excitement and get new members involved.
Phase 4: Growth & Governance – Nurturing Your Oasis
The garden is planted, but the work isn’t over. Now you need to nurture both the plants and the community you’ve built.
14. Cultivating Community: Volunteer Management & Engagement 🎉
A garden is a living thing that needs constant care.
- Regular Workdays: Schedule regular workdays (e.g., every Saturday morning) for communal tasks like weeding paths, turning compost, and maintaining the tool shed.
- Communication is Key: Use a bulletin board (physical and/or virtual via a Facebook group or email list) to share news, post task lists, and celebrate successes.
- Keep it Fun! Don’t let the work become a chore. Host regular events like potlucks, workshops, or “grow-and-tell” tours to keep morale high. This is exactly the spirit we see in the Jackson St Forage Garden, where the project is about growing “not just food, but the people in their community.”
15. Keeping it Green: Maintenance, Pest Control & Harvesting 🐛
- Watering Schedule: Create a clear schedule to ensure the garden gets consistent water, especially during dry spells.
- Weed Warriors: Weeds are inevitable. Encourage everyone to spend a few minutes pulling weeds from common areas each time they visit.
- Integrated Pest Management (IPM): Focus on sustainable pest control. Encourage beneficial insects, use row covers, and hand-pick pests before reaching for chemical sprays.
- Harvest Time! The best part! Encourage gardeners to harvest regularly to keep plants productive. For communal plots, establish a clear and fair system for distributing the bounty.
16. Rules of the Root: Establishing Garden Guidelines & Governance 📝
Clear rules prevent future conflicts.
- Create Bylaws: Work together as a group to create a simple set of rules and guidelines. This document should cover plot fees, maintenance expectations, guest policies, and what happens if a plot is abandoned.
- Conflict Resolution: Have a simple, agreed-upon process for handling disagreements. Miscommunication and other issues will pop up, so it’s best to be prepared.
17. Sustaining the Sprout: Long-Term Viability & Succession Planning 🌳
Great gardens are built to last.
- Leadership Roles: Establish clear leadership roles (e.g., Garden Coordinator, Treasurer, Communications Lead) with defined terms. This prevents burnout and ensures a smooth transition of power.
- Recruit New Members: Always be on the lookout for new members to bring fresh energy and ideas into the garden.
- Document Everything: Keep records of your bylaws, budget, contacts, and processes. This “garden bible” will be invaluable for future leaders.
Common Pitfalls & How to Avoid Them 🚧
Every seasoned gardener has a few cautionary tales. Here at Community Gardening™, we’ve learned that expecting problems is the best way to overcome them. Here are some common hurdles and how to leap over them:
- The Phantom Gardener (Member Drop-out): People are excited at first, but then life gets in the way.
- The Fix: ✅ Have a clear policy in your bylaws about plot maintenance. If a plot is neglected for a certain period (e.g., 3-4 weeks) despite reminders, it can be reassigned to someone on the waiting list. Constant engagement through events and communication also helps keep people invested.
- The Weed Takeover: Common areas can quickly become overgrown if nobody feels responsible for them.
- The Fix: ✅ Assign “common area duty” on a rotating basis or require each member to contribute a certain number of volunteer hours per season to communal tasks. Make it a group effort!
- Vandalism & Theft: It’s a heartbreaking reality for some urban gardens.
- The Fix: ✅ Good lighting, a sturdy fence, and clear signage that identifies the space as a community project can deter would-be vandals. The more the community feels ownership and is present in the garden, the safer it will be.
- Communication Breakdown: Misunderstandings can fester and harm the community spirit.
- The Fix: ✅ Establish multiple, clear channels for communication—a physical bulletin board, an email newsletter, a social media group. Hold regular meetings to discuss issues openly and collectively.
Tools of the Trade: Essential Equipment for Your Community Garden Shed 🧰
You can’t build a garden with enthusiasm alone! A well-stocked tool shed is the heart of a productive community garden. Focus on quality tools that will last. Here’s our must-have list:
| Tool Category | Essential Items | Recommended Brands |
|---|---|---|
| Digging & Cultivating | Shovels, Spades, Garden Forks, Hoes, Hand Trowels, Cultivators | Fiskars, Bully Tools, Corona |
| Watering | Hoses (heavy-duty, kink-resistant), Nozzles, Sprinklers, Watering Cans | Flexzilla, Gilmour, Dramm |
| Transporting | Wheelbarrows, Garden Carts | Gorilla Carts, True Temper |
| Pruning & Cutting | Hand Pruners, Loppers, Garden Shears | Felco, Fiskars |
| General Maintenance | Rakes, Gloves, Buckets, Kneeling Pads | DeWalt (gloves), Local Hardware Store Brands |
👉 Shop Essential Garden Tools on:
- Fiskars: Amazon | Fiskars Official Website
- Gorilla Carts: Amazon | Walmart
- Flexzilla Hoses: Amazon | Flexzilla Official Website
Nourishing the Soil & Soul: Sustainable Practices for Urban Agriculture ♻️
A community garden is a perfect place to practice and teach sustainable living. By gardening in harmony with nature, you create a healthier environment for your plants and your community.
- Composting is King: Set up a robust composting system for all garden and yard waste. This closes the loop, turning “waste” into “black gold” that enriches your soil, reducing the need for chemical fertilizers and keeping organic matter out of landfills.
- Water Wisely:
- Rainwater Harvesting: As mentioned, install rain barrels. It’s a free resource!
- Drip Irrigation & Soaker Hoses: These systems deliver water directly to the plant’s roots, minimizing evaporation and saving a tremendous amount of water compared to overhead sprinklers.
- Mulching: Apply a thick layer of straw, wood chips, or shredded leaves around your plants. Mulch retains soil moisture, suppresses weeds, and regulates soil temperature.
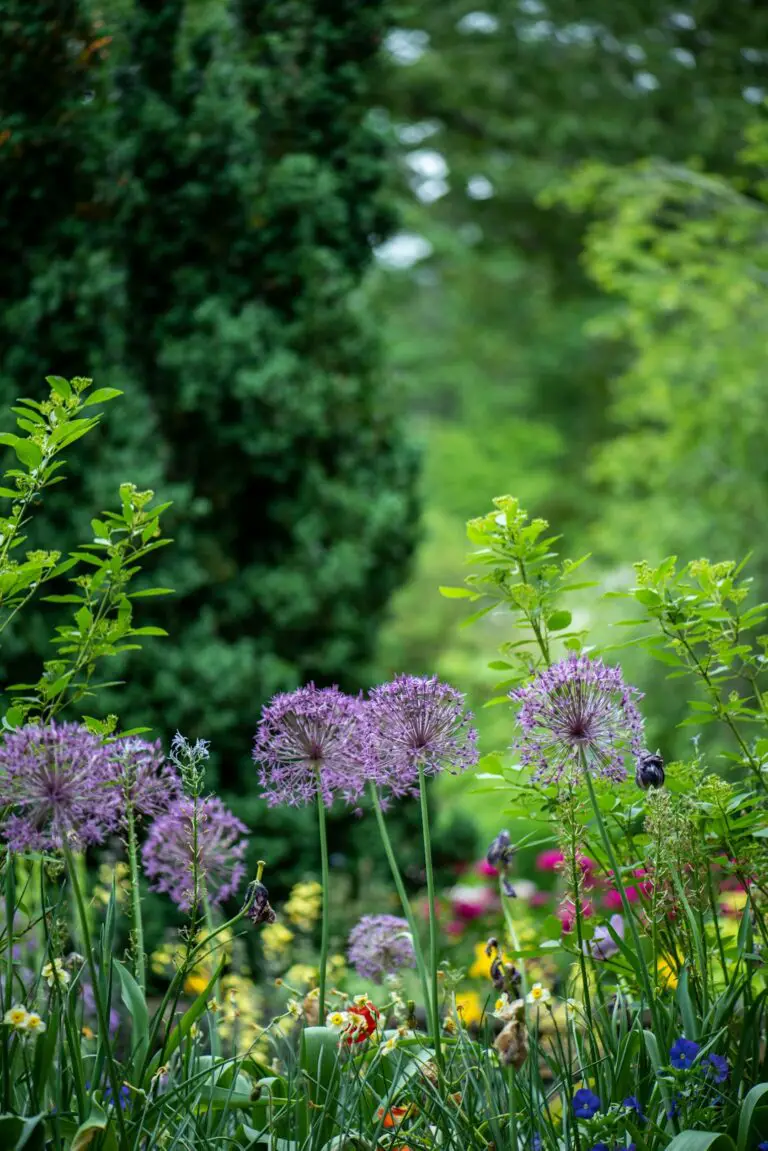
- Promote Biodiversity:
- Plant Native Flowers: Intersperse your veggie plots with native flowers and herbs. They attract pollinators like bees and butterflies, which are essential for fruit production, and also draw in beneficial insects that prey on pests.
- Avoid Pesticides: Embrace an organic approach. Healthy soil and a diverse ecosystem are your best defense against pests and diseases.
Success Stories & Inspiration: Real-World Community Garden Triumphs ✨
Sometimes, the best motivation is seeing how others have succeeded. Take the story of the Jackson St Forage Garden in Lincoln Heights. This community faced a serious problem: they were in a food desert, lacking a local grocery store with fresh produce.
Did they wait for a solution? No! They decided to create their own. Residents are transforming a vacant lot into a thriving hub of nourishment and self-reliance.
What makes their story so powerful is their multi-faceted approach:
- A Garden for All: They’ve designated areas for crops to be sold, crops to be given away for free, and plots for families to grow their own food. This ensures everyone in the community benefits, regardless of their ability to pay or garden.
- Empowering Youth: The garden isn’t just about food; it’s about opportunity. As Youth Coordinator Immanuel Floyd noted, local kids “are getting employed” at the garden, learning not just about agriculture but also about money management and budgeting. It’s a real-world classroom for life skills.
- Growing People: The project has ignited a passion in its volunteers. As William Farley of The Heights Movement said, “this is becoming my new passion right now.” The garden is a place to grow connections, skills, and community pride.
This is what it’s all about. The Jackson St Forage Garden is a testament to the fact that a small patch of land, combined with a whole lot of heart, can truly transform a community from the ground up.
Conclusion: Your Green Legacy Awaits! 💚

So, there you have it — the full scoop on turning that forlorn vacant lot into a thriving community garden. From scouting the perfect sunny spot and navigating legal hoops, to soil testing, fundraising, and finally planting those first seeds, the journey is as rewarding as it is challenging. Remember, the magic of a community garden isn’t just in the fruits and veggies it yields, but in the connections it cultivates among neighbors, the health benefits it fosters, and the green legacy it leaves behind.
If you’re wondering about the soil contamination question we teased earlier, the key takeaway is: don’t let fear stop you! With proper testing and smart solutions like raised beds and clean soil importation, even sites with a checkered past can bloom beautifully.
And if you’re thinking, “Can I really pull this off?” — the answer is a resounding YES! With passion, persistence, and a committed team, you can transform any neglected patch of earth into a vibrant hub of growth and community spirit.
Ready to dig in? Let’s get growing!
Recommended Links: Further Reading & Resources 🔗
Looking to gear up or deepen your knowledge? Here are some top picks from our Community Gardening™ toolkit and beyond:
-
👉 Shop Essential Garden Tools:
-
Soil Testing Kits:
-
Books for Inspiration & Guidance:
- The Community Garden Cookbook by Ellen Ecker Ogden — Amazon Link
- Urban Gardening: How to Grow Food in Any Space by David Tracey — Amazon Link
- The American Community Gardening Association’s Guide to Community Gardening — Amazon Link
FAQ: Your Burning Community Garden Questions Answered 🔥

What are the first steps to start a community garden on unused land?
Starting a community garden begins with identifying a suitable plot that receives ample sunlight (6-8 hours daily) and is accessible to the community. Next, determine land ownership and obtain written permission or a lease agreement to use the land legally. Simultaneously, form a core group or steering committee to lead the project and engage the neighborhood to build support. Early soil testing is crucial to assess contamination risks and plan remediation if necessary. Finally, check local zoning laws and permits to ensure your garden complies with municipal regulations.
Read more about “🌿 10 Powerful Community Gardens for Low-Income Families (2025)”
How can community members get involved in transforming a vacant lot?
Community involvement is the heartbeat of any garden. Members can participate by:
- Attending planning meetings and sharing ideas.
- Volunteering for cleanup days and construction efforts.
- Committing to regular maintenance like watering, weeding, and harvesting.
- Helping with fundraising and outreach to local businesses or organizations.
- Participating in educational workshops and garden events.
- Taking leadership roles in governance to sustain the garden long-term.
This inclusive approach fosters ownership and ensures the garden reflects the community’s needs and values.
Read more about “Are Community Gardens Successful? 12 Surprising Wins in 2025 🌿”
What resources are needed to maintain a successful community garden?
Successful maintenance requires a blend of human, material, and financial resources:
- Human: Dedicated volunteers for daily tasks, leadership for coordination, and community engagement.
- Material: Quality tools (shovels, hoes, pruners), water access (hoses, irrigation), composting facilities, fencing, raised beds, and seeds/seedlings.
- Financial: Funds for purchasing supplies, water bills, insurance, and infrastructure improvements. These can come from membership dues, grants, sponsorships, and crowdfunding.
- Knowledge: Access to gardening expertise, soil health information, and sustainable practices.
Regular communication and clear governance policies help keep these resources organized and effective.
Read more about “10 Community Garden Maintenance Issues You Can Easily Solve 🌿 (2025)”
How does a community garden benefit neighborhood health and social connections?
Community gardens are more than food producers—they are social and health catalysts. They:
- Improve Physical Health: Gardening is moderate exercise, promoting fitness and reducing stress.
- Enhance Mental Well-being: Being in green spaces and engaging in nurturing activities lowers anxiety and depression.
- Increase Access to Nutritious Food: Fresh fruits and vegetables improve diet quality.
- Build Social Capital: Gardens create spaces for neighbors to meet, collaborate, and support each other, reducing social isolation.
- Strengthen Community Pride: Shared success fosters a sense of belonging and stewardship.
These benefits ripple outward, contributing to safer, more vibrant neighborhoods.
How do you handle soil contamination concerns in urban vacant lots?
If soil tests reveal contaminants like lead or arsenic, the safest approach is to use raised beds with clean, certified soil and install a barrier fabric underneath to prevent contact with contaminated soil. Avoid growing root vegetables directly in contaminated soil, and consider growing ornamental plants or native flowers in affected areas. Engage with local environmental agencies for guidance and possible remediation grants.
What are some effective ways to fund a community garden project?
Funding can come from multiple streams:
- Membership Fees: Small annual dues from gardeners.
- Local Business Sponsorships: Donations or in-kind support.
- Grants: From government programs, foundations, or environmental agencies.
- Crowdfunding: Platforms like ioby specialize in community projects.
- Fundraising Events: Plant sales, workshops, or garden tours.
Diversifying funding sources increases financial stability.
Read more about “10 Free Community Gardening Programs to Join in 2025 🌿”
Reference Links: Citing Our Sources 📚
For those who want to dig deeper, here are the authoritative sources and resources we referenced:
- ioby.org: How to Turn a Vacant Lot into a Community Garden – A Primer
- EPA: Steps to Creating a Community Garden or Expanding Urban Agriculture on a Brownfields Site
- American Community Gardening Association (ACGA)
- USDA NIFA Land-Grant Colleges and Universities Directory
- PHS Programs: Transforming Vacant Land | Philadelphia Horticultural Society
- EPA Envirofacts Database
- American Horticultural Therapy Association (AHTA)
- Community Gardening™ Categories: Benefits of Community Gardens
- Community Gardening™ Categories: Community Garden Events
- Community Gardening™ Categories: Community Garden Policies
- Community Gardening™ Categories: Garden Design Ideas
- Community Gardening™ Categories: Edible Plants
Ready to turn your vacant lot into a vibrant community garden? The tools, knowledge, and inspiration are in your hands. Let’s grow together! 🌿